20 Warm Wood Kitchen Cabinets Refreshes Without Paint
Painting oak is the laziest answer, and it’s rarely the best one. Most warm wood kitchen cabinets read as dated because of grease film, undersized hardware, and gray walls, not because of the wood itself.
Below are 20 before-and-after moves, most of them reversible, that change how honey oak reads on a gray November afternoon or in the flat light at 4pm. Nothing here touches the cabinet finish with paint. Each one shows what changes, why it works, and what to watch for.
Amazing warm wood kitchen cabinets transformations
Warm wood kitchen cabinets respond fastest to small, undoable changes. Start with these five, because you can remove every one of them if the result disappoints.
1. Degreased honey oak doors
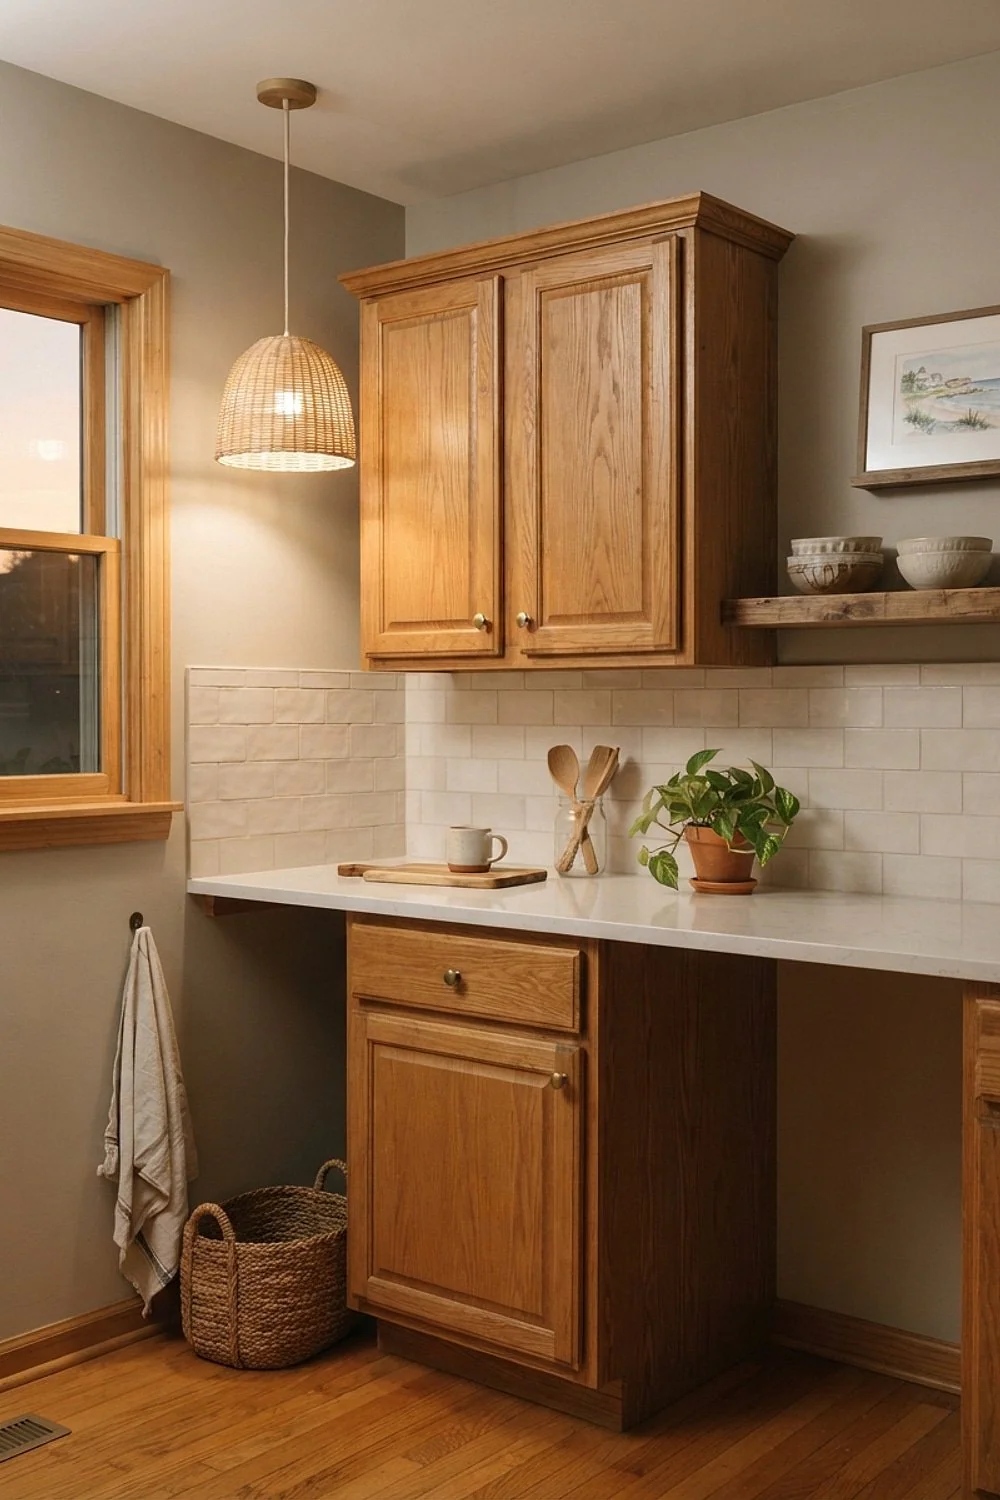
A degreasing cleaner such as Krud Kutter and a microfiber cloth lift the cloudy, tacky film from doors near the range. Before: dull amber and fingerprints that never wipe away. After: visible grain and a satin sheen.
That film builds up like the crumb tray of a toaster, unnoticed until somebody looks underneath. It’s also why oak often seems more orange than it really is. Work top to bottom, one door at a time, and rinse with a damp cloth so cleaner residue doesn’t dull the finish.
2. Pulls sized to the door
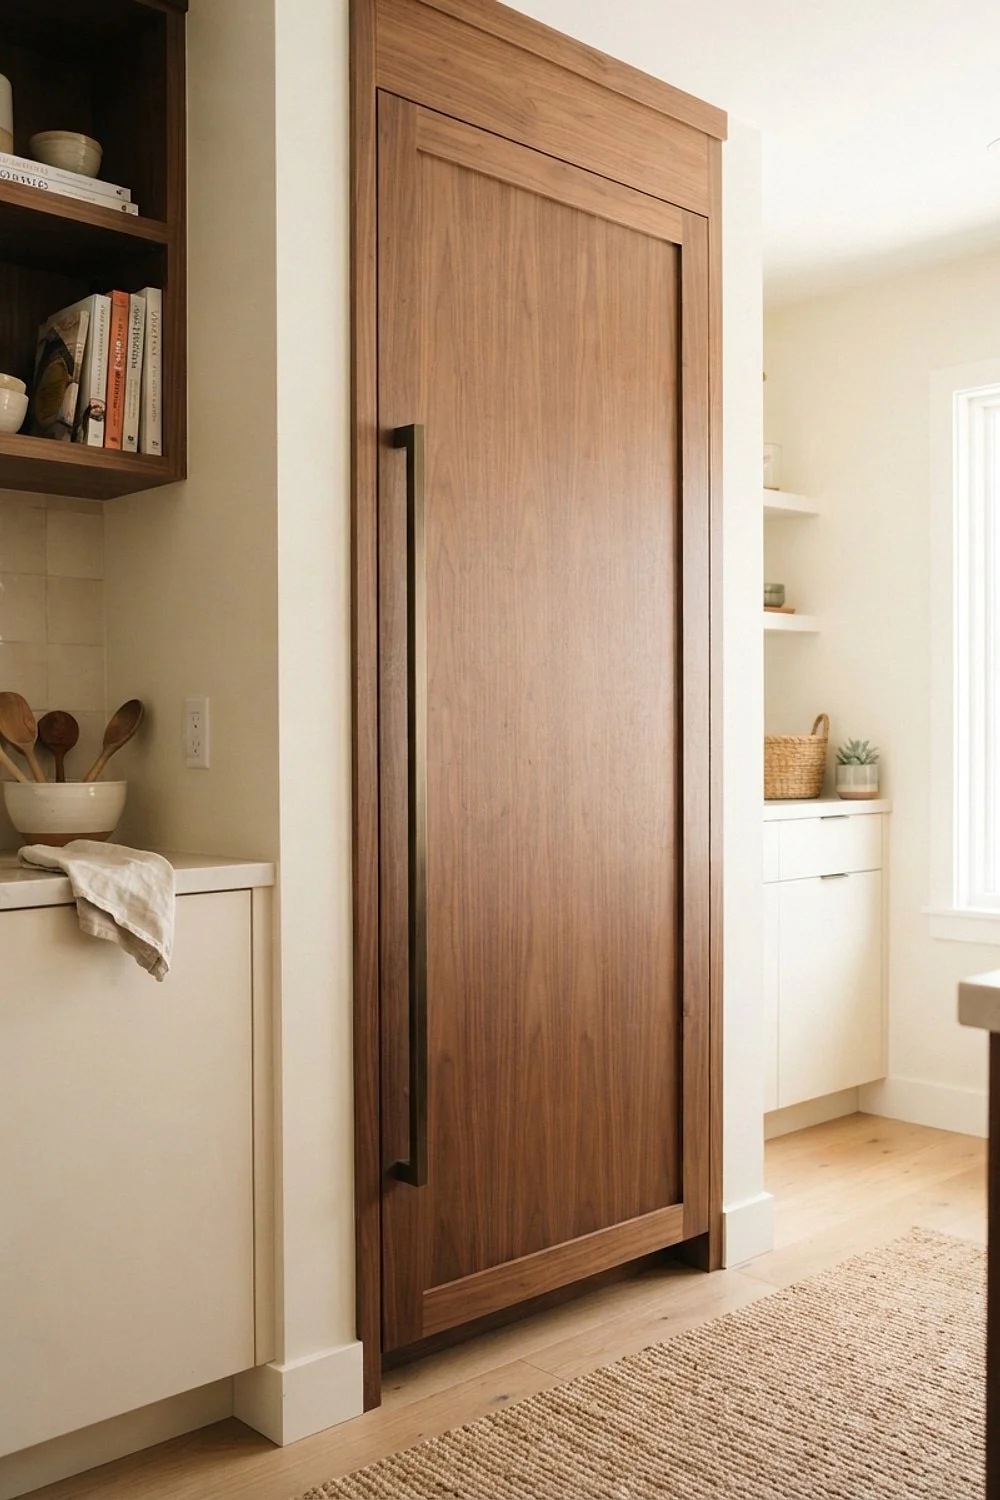
Knobs under 1.25 inches look like buttons on a coat two sizes too big. The common mistake is ordering new hardware without measuring the existing hole spacing, which is usually 3 or 3.75 inches center to center.
Match that spacing and the old holes stay hidden, so the swap is reversible. Doors under 15 inches wide handle a 3.75-inch pull well, while wider doors and drawers can take 5 inches.
3. Silent-close bumpers
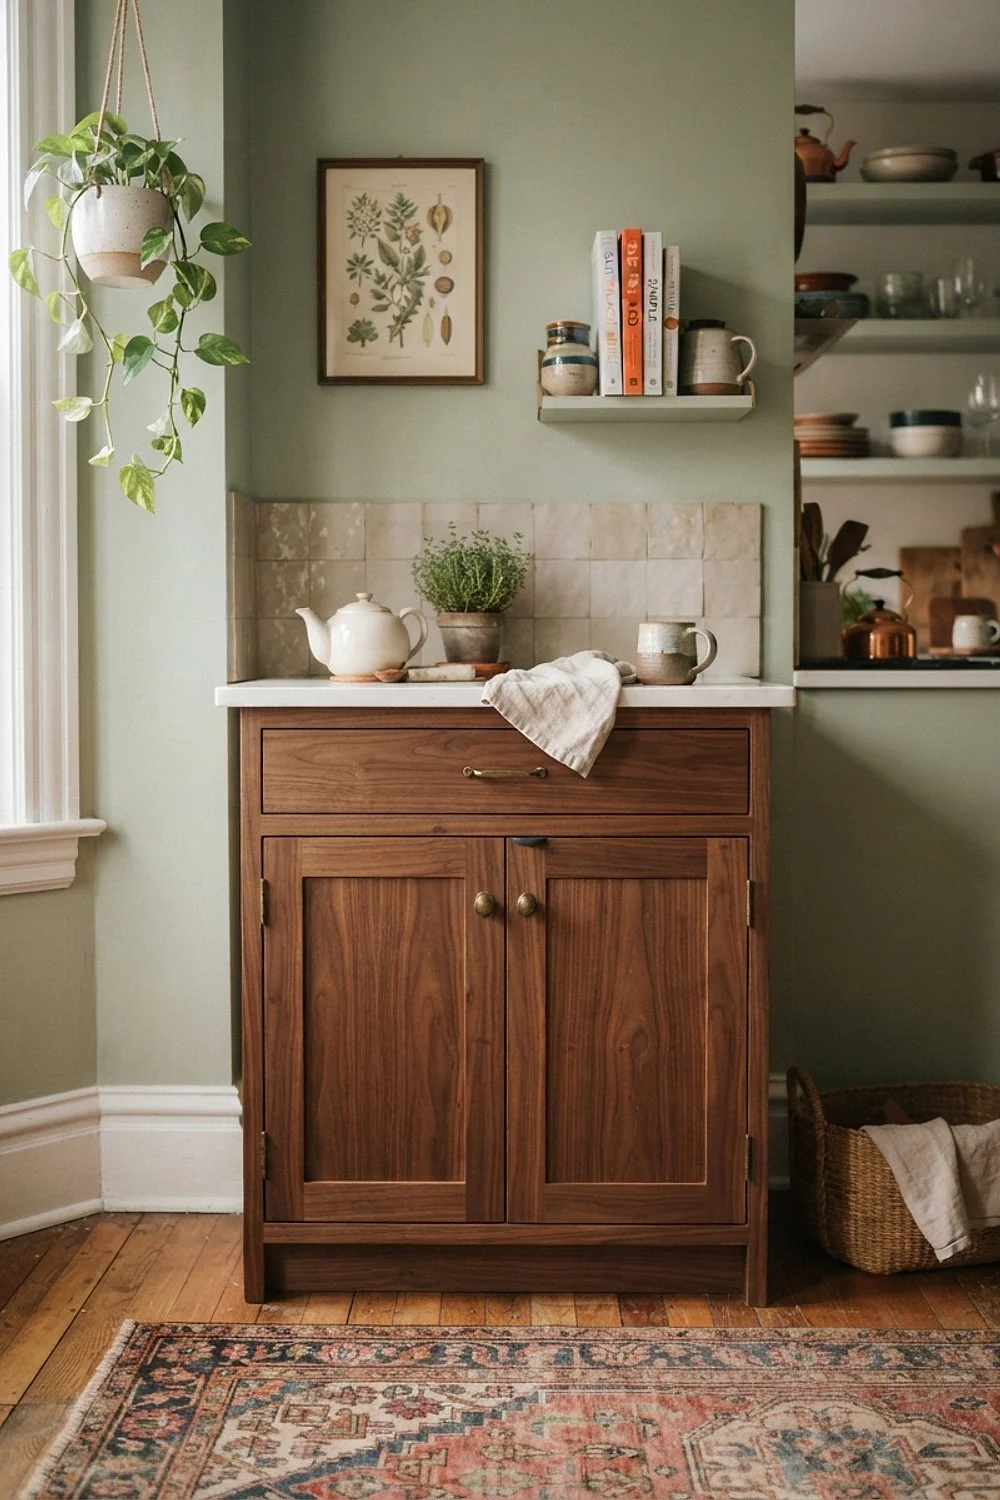
Clear silicone bumpers, about $8 for a pack of 100, stop the slam that chips door edges and rattles a quiet morning. Before: wood hitting wood. After: a soft thud you barely hear from the next room.
This suits households with early risers or teenagers who treat cabinets like punching bags. Each bumper adds roughly 1/8 inch, so check that the doors still sit flush before you commit to the full pack.
4. Open shelves beside the range hood
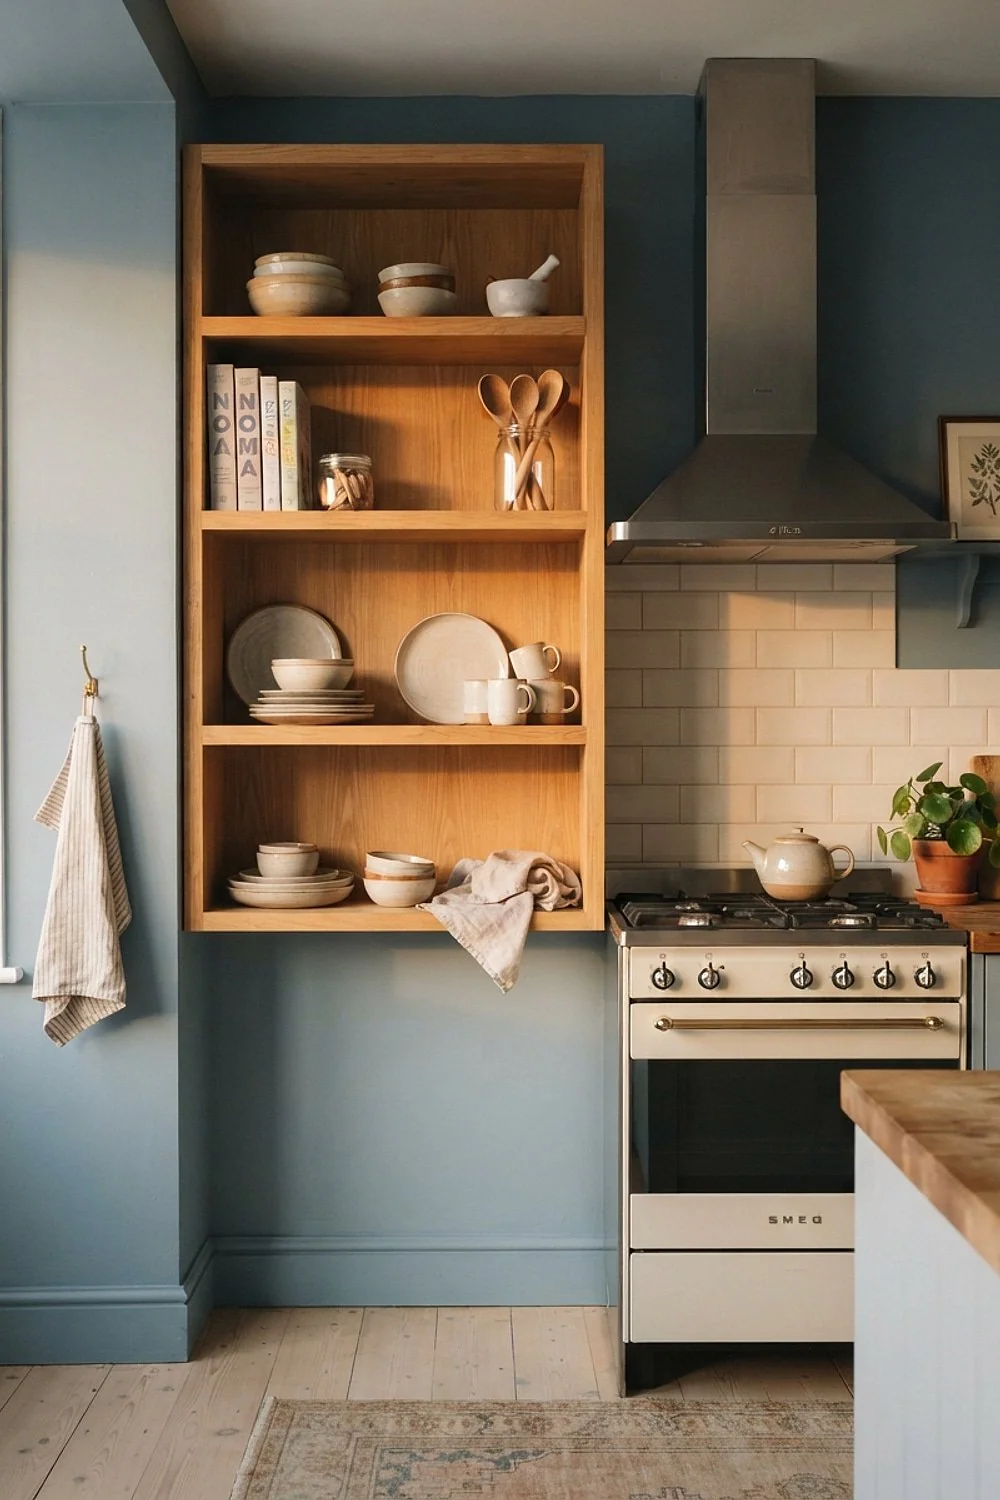
Unscrewing the two upper doors that flank the range hood turns a pair of boxy cabinets into open shelves about 30 inches wide. Store the doors and hinges in a closet and the change is fully reversible.
This works for people who already keep their glasses and bowls tidy. Check the cabinet interior first, because raw particleboard inside looks cheap. Lining the back with peel-and-stick wallpaper solves it.
5. Plug-in LED strips under the uppers
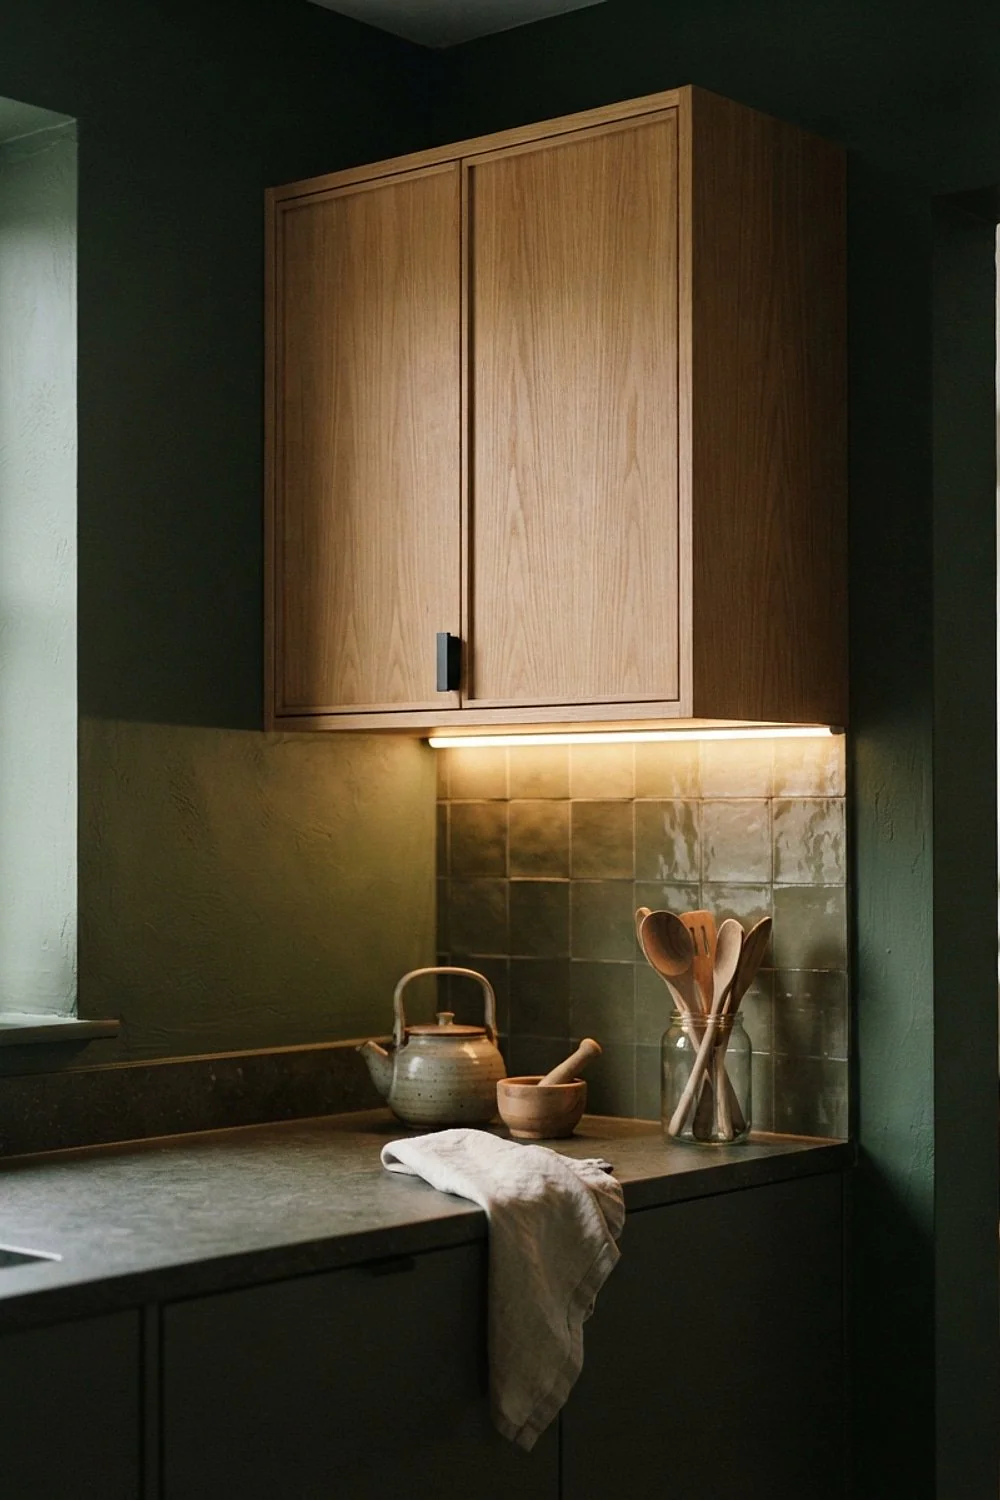
A plug-in LED bar around 24 inches long at 2700K to 3000K makes grain glow where a ceiling fixture leaves shadows. Before: a dim counter and flat doors. After: a pool of light that picks out the oak’s figure by late afternoon.
Avoid anything at 4000K or higher, which pushes oak toward a sickly yellow-green. Adhesive clips hold the bar in place, and a hair dryer loosens them without damaging the wood.
Warm wood cabinets without paint: the surrounding upgrades
6. A butcher block cart in the open floor

A 24-by-36-inch butcher block cart on locking casters adds prep surface without building an island, and it can roll aside when the floor needs to be clear. The pale maple top against orange oak reads as deliberate contrast instead of a near-match, which tends to look accidental.
It suits open-plan kitchens, rentals, or budgets that cannot absorb island plumbing and cabinetry. It needs at least 42 inches of clear walkway beside it. Tighter than that and the cart becomes the thing everyone bumps into while carrying groceries. Always lock the casters during chopping.
7. Oversized baskets above the uppers
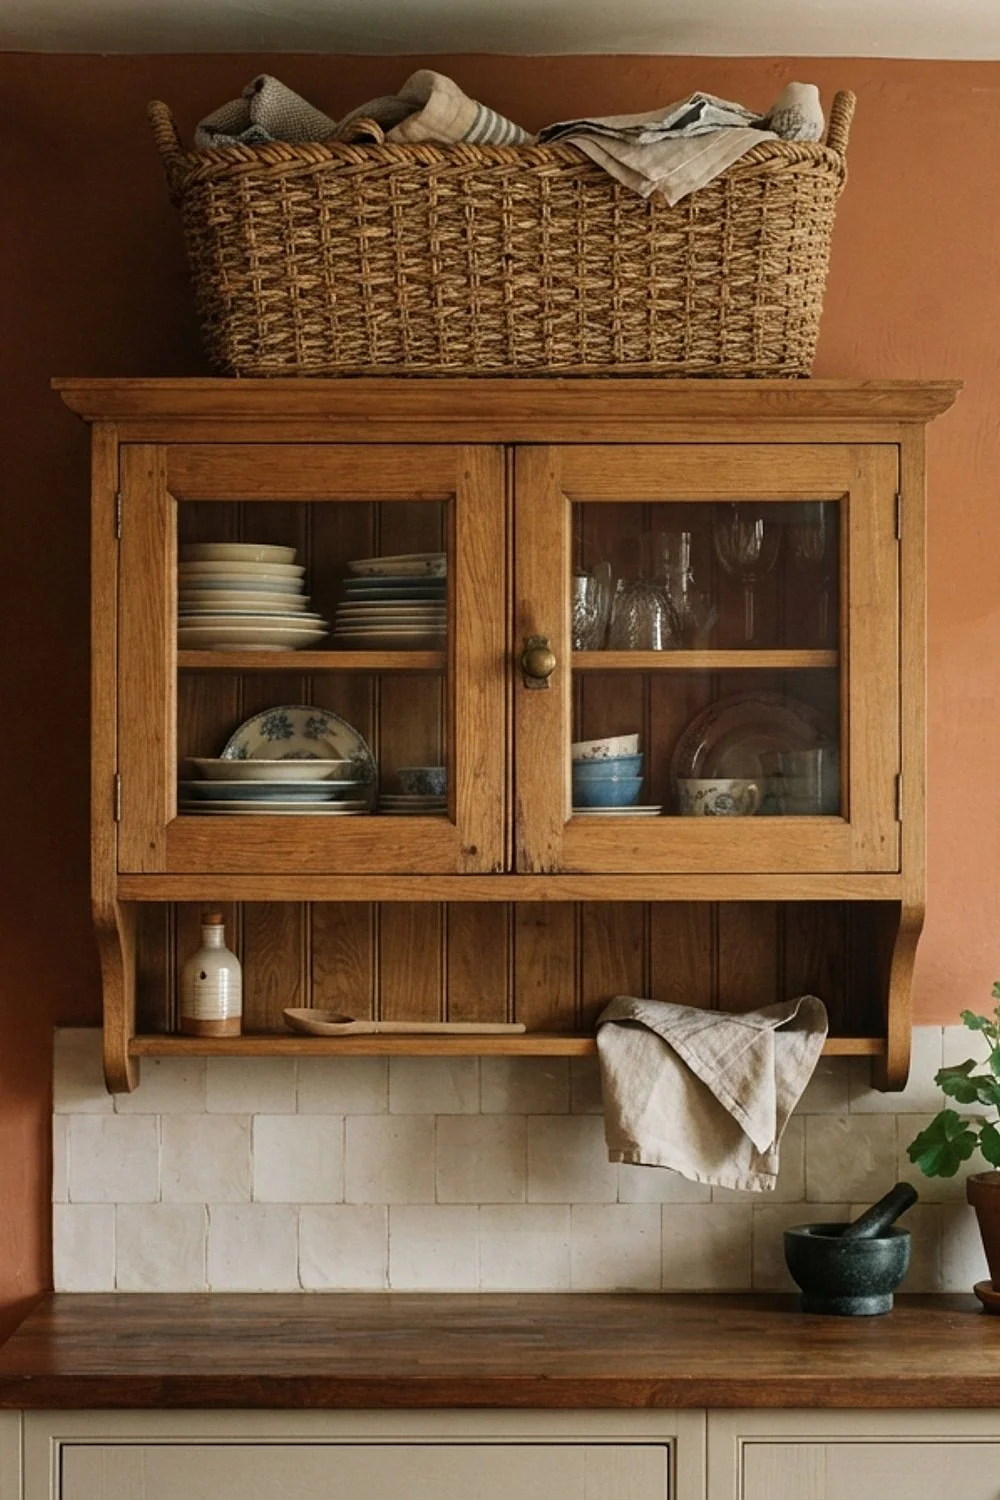
The 12-to-18-inch gap above most upper cabinets collects dust and looks unfinished. Three wicker baskets about 14 inches wide fill it so the cabinets seem to reach the ceiling.
Big pieces work here because small knickknacks look like clutter at that height. Keep them away from the range, since airborne grease clings to wicker, and keep each load under 10 pounds.
8. Wire risers inside the boxes
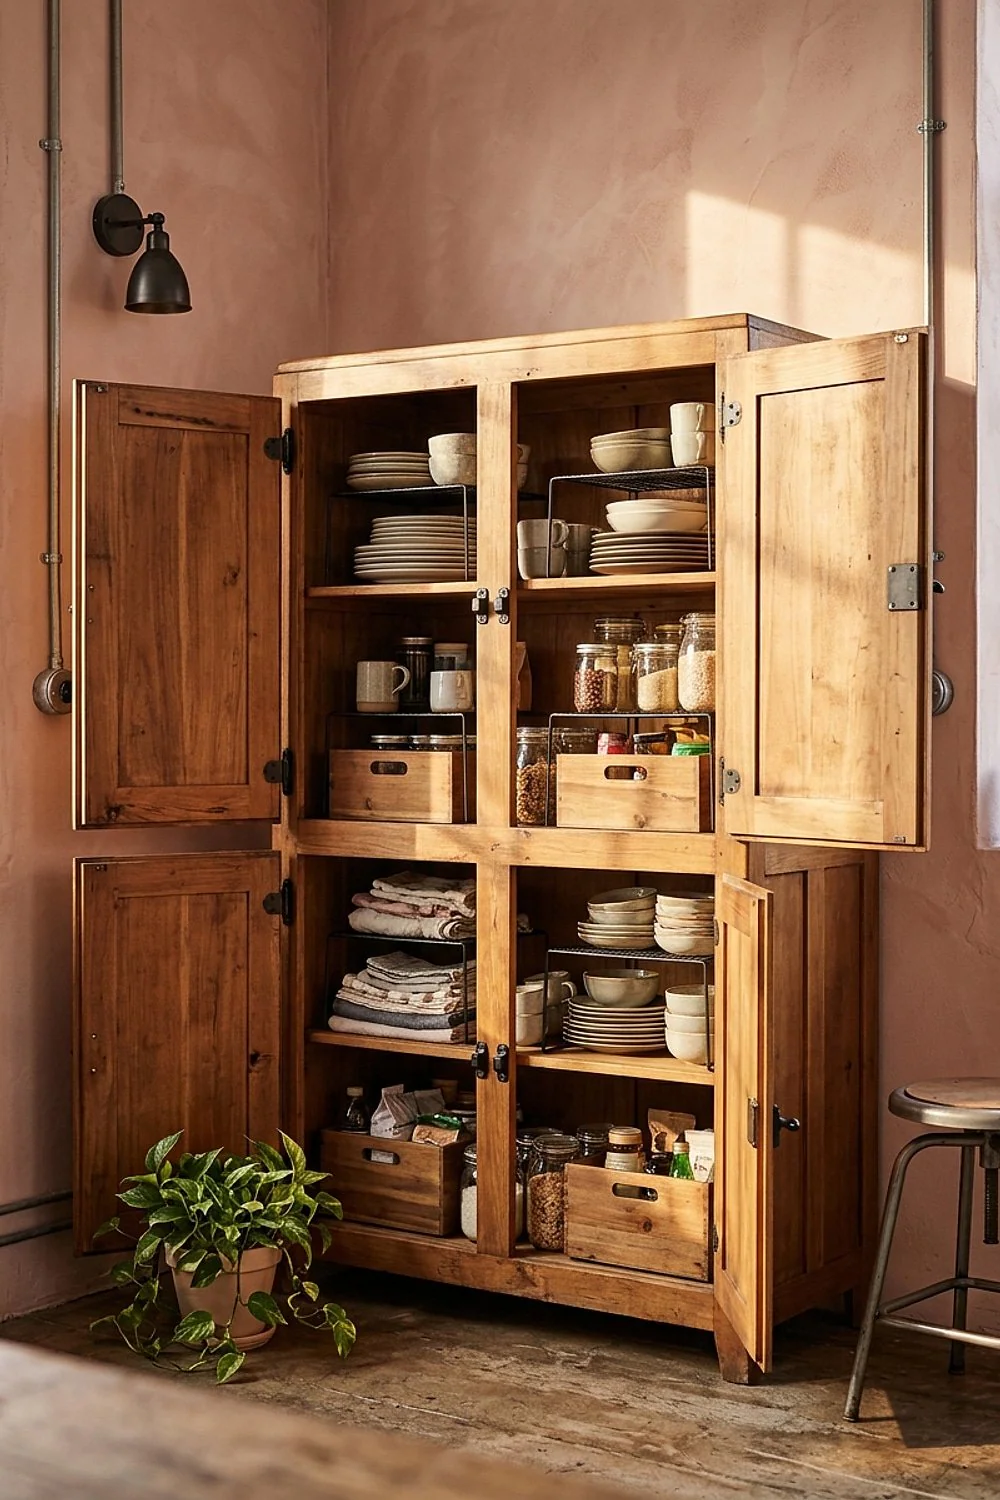
Oak cabinets often waste 8 to 10 inches of vertical space inside. A set of two wire shelf risers, around $25, doubles usable plate storage and keeps the doors closed, which is half of what makes a kitchen look orderly.
This suits families with stacks of everyday plates. Measure the shelf depth first, because a riser that sticks out past the door edge stops the door from closing.
9. A wipe-on finish restorer
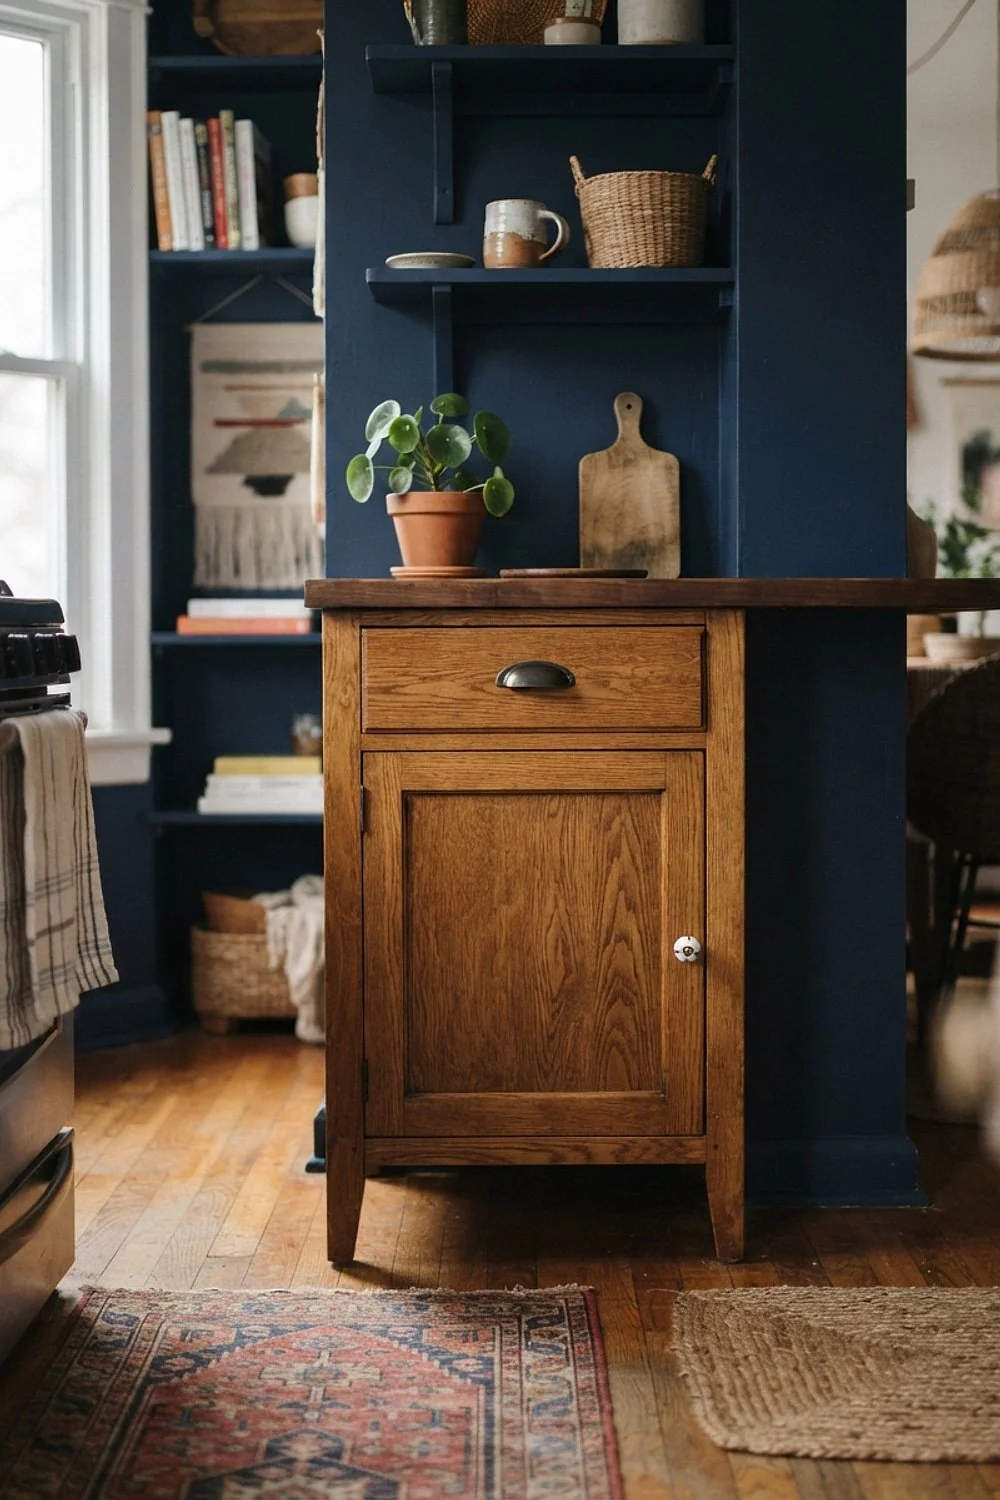
A product such as Howard Restor-A-Finish blends light scratches and faded patches on tired doors. Before: gray, worn spots around the handles. After: an even, slightly deeper tone.
It’s the one semi-permanent step in this list, and it refreshes rather than recolors. Test it on the inside of a door first, because heavily worn finish can drink it up unevenly.
10. Sage walls and sample swatches

Gray walls make orange oak look more orange, which surprises most people. A muted sage such as Benjamin Moore Saybrook Sage sits opposite the orange on the color wheel and quiets it.
Tape a 12-by-12-inch peel-and-stick sample beside the cabinets overnight and check it at 4pm and again at 8pm. Wall paint is the most reversible color move there is, since one gallon covers it back up.
Pro moves
11. Odd-numbered shelf groupings
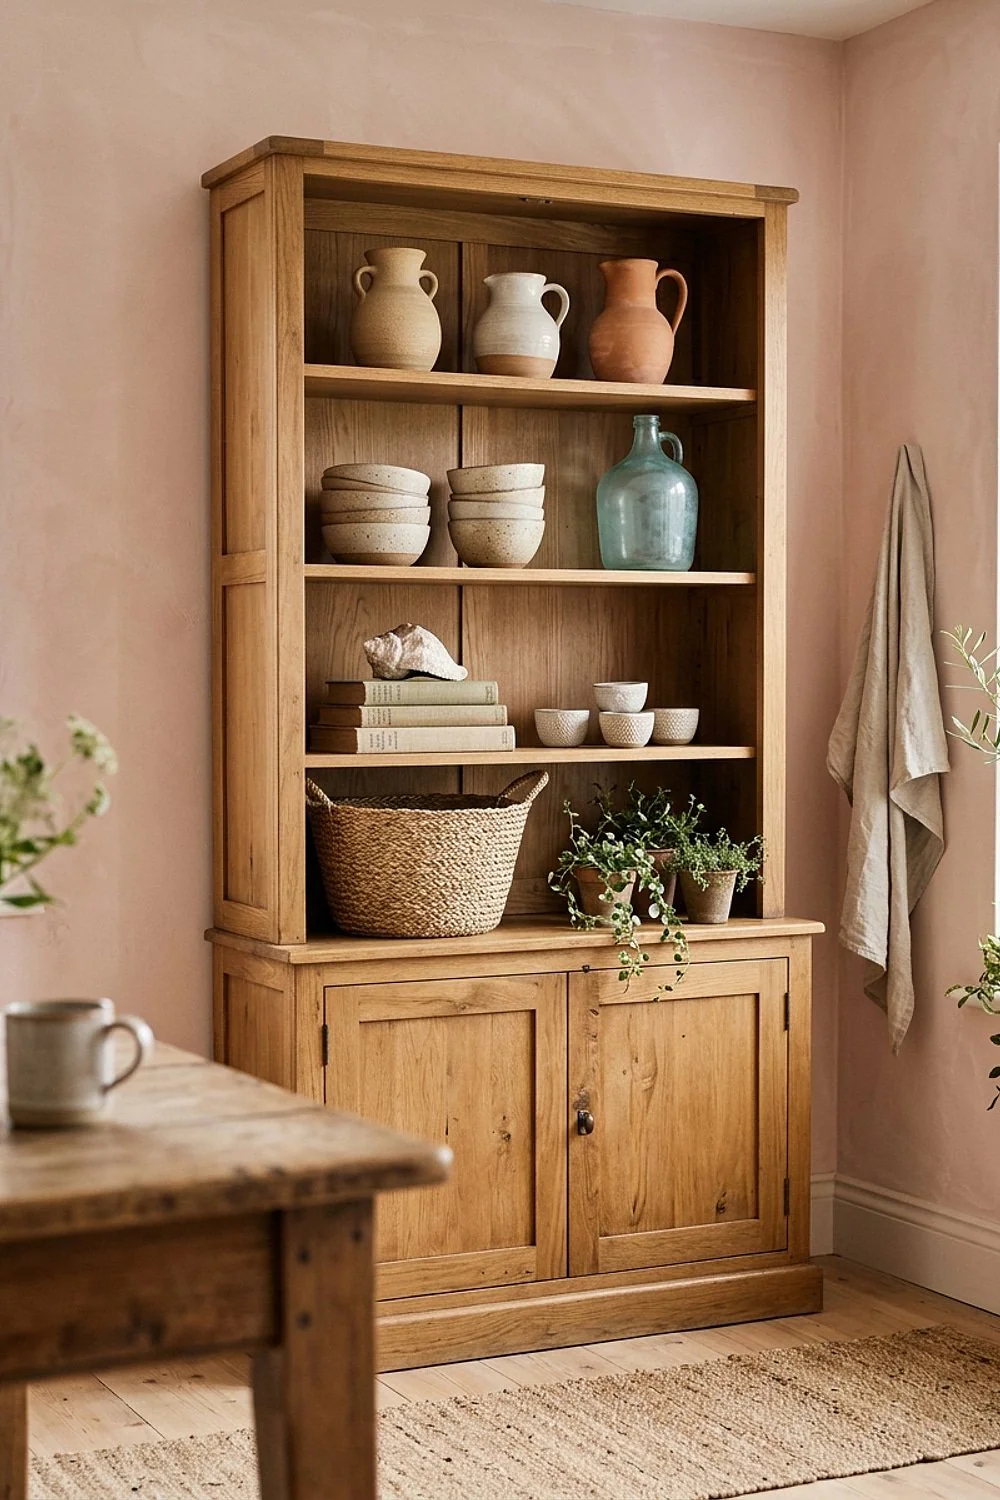
White ceramic crocks, a wooden cutting board, and one tall pitcher at roughly 8, 12, and 16 inches make open shelves look arranged instead of stocked. White gives the eye a rest from all that grain.
The usual mistake is matching every object. Mix finishes and let the heights do the work, and leave at least a hand’s width of bare shelf on each end.
12. Peel-and-stick backsplash with real contrast

Off-white zellige-look tiles run about $2 to $6 per square foot, and a 30-square-foot backsplash goes up in an afternoon. Choosing a shade too close to the oak is the usual failure, because it blurs into one beige mass.
Order a single sheet and hold it against the doors in daylight first. Renters like this one because the adhesive peels off cleanly with a hair dryer.
13. A washable runner at the sink

A 2-by-6-foot runner with a 3/8-inch rubber backing takes the strain off your feet during 20 minutes of rinsing and wiping. A deep rust or indigo pattern also pulls the eye down and away from the orange doors.
Trip risk is the downside. Use a grippy pad underneath and pick a runner thin enough that the dishwasher door still opens over it.
14. Adhesive hooks inside the doors

Hooks rated for 5 pounds, stuck on the inside of the doors, hold measuring cups and oven mitts without drilling a single hole. That frees drawer space and keeps the cabinet fronts clean.
Old lacquer can lift when the adhesive comes off, so test one hook in a hidden corner for a week. Press for 30 seconds and wait an hour before hanging anything.
15. Plug-in pendants over a peninsula

Hung 30 to 34 inches above the counter, a plug-in pendant pulls light down onto the wood and creates a focal point at eye level. Swag it from a ceiling hook and the wiring never changes.
Hanging it too high is the common mistake, and it turns the pendant into a ceiling decoration. Use 2700K bulbs around 800 lumens so the glow stays soft and the oak keeps its depth.
Last-mile swaps that stay reversible
16. Oversized art leaned on the counter

A 30-by-40-inch framed print costs about $60 to $90 and, leaned against the backsplash, gives the room a second focal point beyond the cabinets. Small frames get lost next to that much wood.
Pick art with a cool or neutral palette so it doesn’t compete with the orange. And keep it at least 24 inches from the range so splatter stays off the glass.
17. A wall rail for mugs

A 24-inch steel rail with S-hooks holds eight mugs and clears two shelves inside the cabinet. The hanging mugs also add color and texture along a flat stretch of wall.
It suits anyone with a small kitchen and more mugs than shelf space. Screw it into studs or use rated anchors, since a full set of ceramic mugs weighs more than it looks.
18. A walnut floating shelf

A walnut shelf 10 inches deep and 1.5 inches thick adds a second wood tone, and the dark brown reads as separate from the orange. Two woods that differ clearly look intentional.
The trap is a near-match, like cherry beside honey oak, which looks like a failed attempt to match. Go at least two shades darker or lighter than the cabinets.
19. A navy shade at the window

A cotton-linen Roman shade in deep navy, about $60 for a 36-inch window, puts a strong complement to orange right where the eye lands. Blue and orange sit opposite each other on the color wheel, so the oak looks richer, not duller.
It suits a renter or anyone wanting a cheap, reversible color move, since a single shade changes the room without repainting. Choose a lined shade if the window faces west. Afternoon sun fades unlined cotton within a season, and the navy would turn a patchy gray-blue.
20. A trailing pothos on top

A pothos in a 6-inch pot, with vines draping over the cabinet edge, breaks up the straight line of the doors. Green against orange-brown gives the room a living contrast no hardware swap can match.
It needs four to six hours of bright indirect light, so skip it above a dark corner. Use a saucer, because one overwatering leaves a white ring on the wood.
What these makeovers cost
Warm wood kitchen cabinets can change dramatically on a tiny budget, and the reversible moves tend to be the cheapest. Spending climbs only when something becomes permanent.
- Under $100: degreaser, bumpers, hooks, risers, and a wall rail.
- $100 to $400: LED strips, pulls, a peel-and-stick backsplash, a shade, and a runner.
- $400 to $1,000: a butcher block cart, a pendant, a restorer kit, and a framed print.
The best return sits in the first tier. A thorough cleaning and a set of properly sized pulls change more than any paint-free upgrade costing ten times as much.
Notes from real rooms
- Wait for winter light. During December and January, low sun makes oak look deeper and redder by 3pm, so judge your wall sample then, not on a bright July morning.
- Start with the least permanent change. This is the move for a rental or an undecided owner: clean, light, hardware, then textiles, and leave anything that needs a screwdriver on the wall for last.
- Skip the custom runner. Use an inexpensive washable rug and a $10 pad instead. Nobody can tell, and the pad does most of the work.
- Copy the Scandinavian restraint. In many Scandinavian homes, light wood is left bare and treated with oil or soap, and everything around it stays calm, so the grain carries the room.
The fastest way to ruin any of these is to change five things at once. Make one change, live with it for a weekend, and let the oak tell you what comes next.
Keep the wood, change everything around it
Warm wood kitchen cabinets don’t need rescuing. They need clean doors, hardware at the right scale, better light, and a color on the walls that stops fighting the orange.
Save or pin this list so it’s on hand when you’re ready to start, then measure your existing hole spacing before buying a single pull.
Frequently asked questions
Can warm wood kitchen cabinets work with white or gray walls?
Yes, but gray tends to exaggerate the orange. A creamy off-white, muted sage, or soft greige keeps the wood from glowing.
Can I do any of this in a rental?
Most of it, yes. Bumpers, plug-in lighting, hooks, runners, and peel-and-stick tile all come off cleanly. Skip the restorer, since that changes the finish.
How do I tell if the orange is the wood or just old finish?
Rub a rag with mineral spirits on a hidden spot. If the rag turns yellow-brown, grime is the problem. Warm wood kitchen cabinets that stay orange after cleaning have an amber finish, and the fix is contrast around them.
Will degreasing damage the finish?
A mild degreaser and a damp cloth are safe on most lacquered or varnished doors. Test a hidden spot first and avoid soaking the wood or scrubbing with abrasive pads.